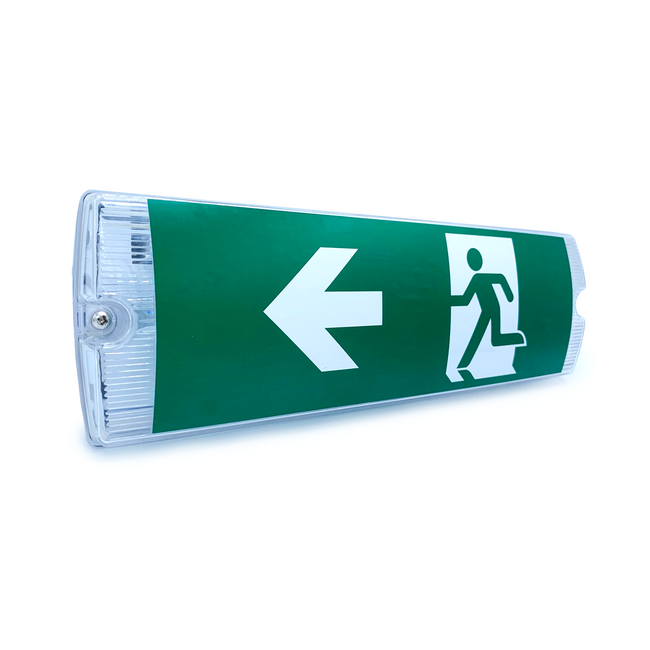
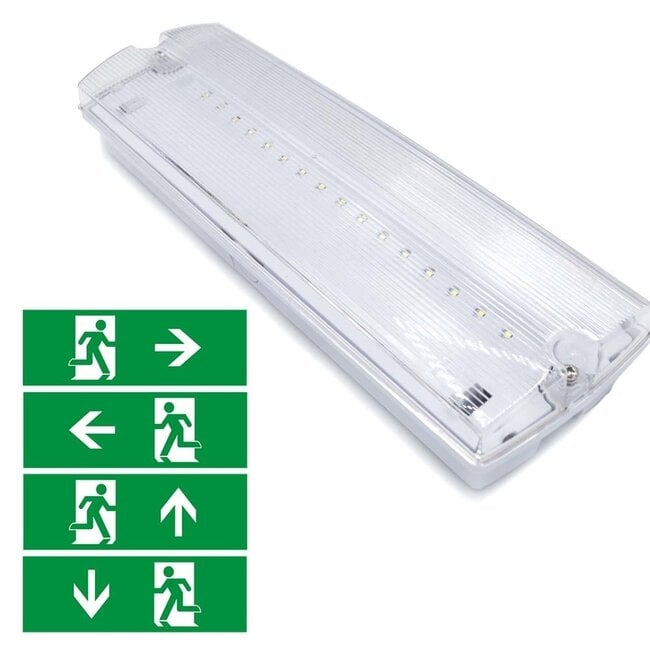
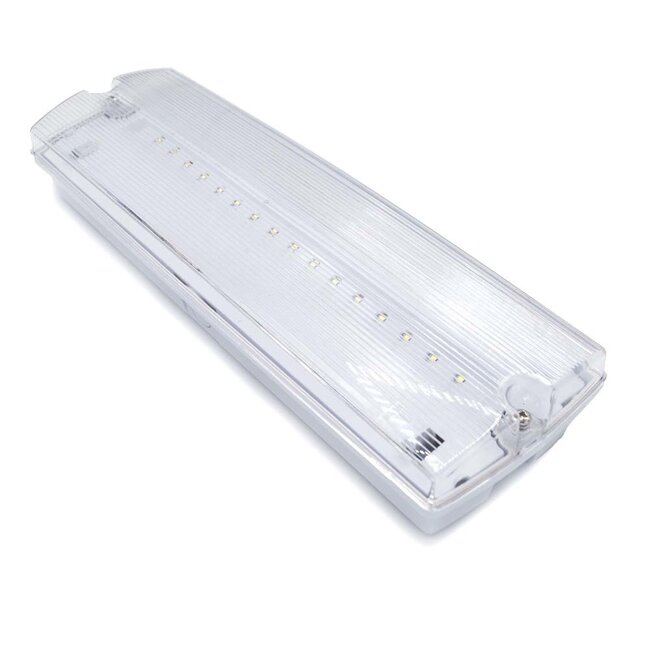
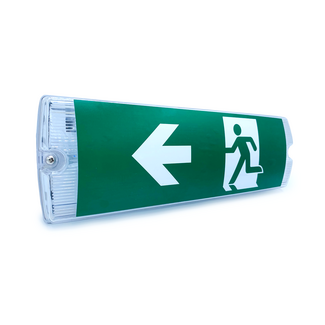
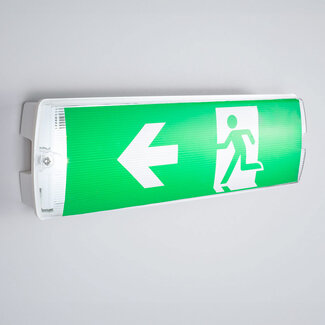
The OTG-KL emergency light tests itself regularly, so you can be confident the battery is always ready. It also has a test button for manual checks. The legends supplied can be applied to suit your layout, so the escape route is always clearly shown. The housing and diffuser are made from high-quality plastic.
For straight-ahead travel, apply the legend with the arrow pointing up to the light. First set up some soapy water to lather the cover of the light. Once you apply the legend, you easily smooth out the air bubbles under the sticker.
A separate set of eight legends is also available for this light.
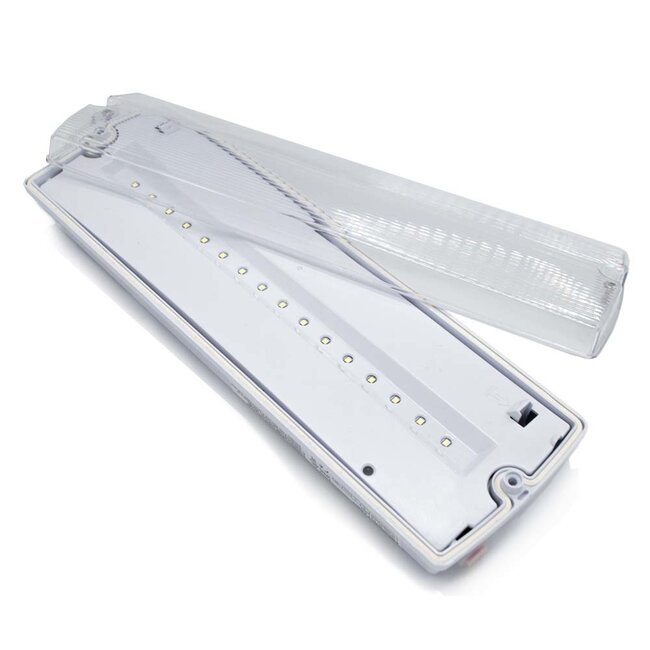
The LED emergency lighting can be mounted above doors and windows and on walls. An emergency lighting specialist can help you work out how many areas need emergency lighting and how best to install it. Circles are marked on the back and the four sides of the light that can be drilled through. Once you have drilled a hole, connect the wiring to the terminal block mounted on the circuit board. This connects the light to the mains (230V). To protect the hole against water damage, fit a PG9 cable gland as strain relief in the drilled hole and run the wiring through it. This protects the light against water damage and prevents the cable from coming loose from the terminal block.
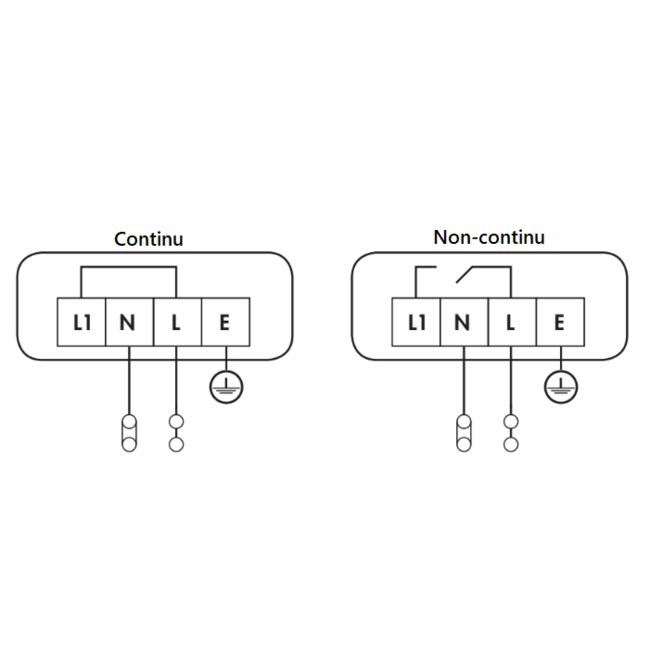
The light can be set to maintained (always on) or non-maintained (on only when needed). When set to maintained, the light stays on all the time, whether or not there’s a power cut. When set to non-maintained, the light only comes on when the mains power fails, then runs on its battery for three hours. Three hours is generally enough time for staff and visitors to leave a building, and it meets the legal requirement.